Flowcharts are powerful tools that help you visualize complex ideas or processes in a clear and concise manner. Whether you are planning a project, designing a system, or simply organizing your thoughts, a flowchart can help you simplify and communicate your ideas effectively.
This powerful graphical representation requires a lot of homework to make the process painless. After all, the sorted stepwise process that looks so smooth to grasp may take hours for the maker to streamline it. Luckily, with the help of a Flowchart tool like PhotoADKing, you can create a flowchart online quickly and easily. Choose flowchart templates, and you can easily customize them with your own business information.
In this article, we will guide you through the process of creating a flowchart using PhotoADKing from scratch. We will cover everything from the basics of flowchart symbols and notation to more advanced techniques for designing complex diagrams.
So, let’s get started!
How to Make a Flowchart With PhotoADKing
So, what is your good reason for creating a chart with PhotoADKing today?! Whatever it is, let us lead you the way.
Step-by-step Process to make a flowchart with PhotoADKing.
1. Login/Signup with PhotoADKing
Start by signing up with PhotoADKing if you don’t have an account already. You may log in to another case. You may do so using your Google ID, Facebook, or Email.

2. Search for Flowchart Design
Move to your dashboard now & search for the type of flowcharts you’re looking for by typing in the search bar.
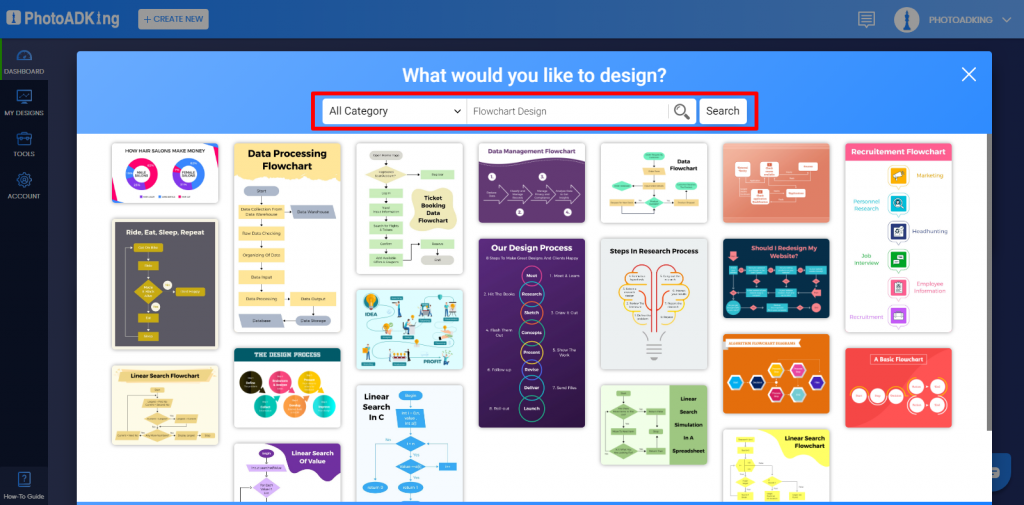
You have plenty of flowcharts in any given flowchart type you want to create. Scroll through the entire library at PhotoADKing & select the one that best fits your needs.
One thing to keep in mind while searching for any respective flowchart design is, it will be 100% editable. So, if you want to change the color scheme or want minor modifications, you can do it.
3. Edit the Flowchart
Now comes the most critical part of designing. If no flowchart template meets your needs or if you’re too curious to start from scratch, both are possible. Before you begin, here is what we highly recommend to follow.
Pro Tip: Always have a rough sketch of your flowcharts on hand to ease the process & verify that you are not missing out on anything.
Once you have a rough idea by your side, you will only have to digitalize it with PhotoADKing’s powerful editor tool. Here is what you have to do:
● Add Shapes
Count the number & type of shapes you will require. Select the shapes from the left-side panel from Elements > Shapes. You’ll have several options from empty, transparent, and opaque shapes. Also, we’ve got all types of flowchart shapes that hold distinct meanings. Simply drag and drop the shapes to the areas they’re supposed to be.
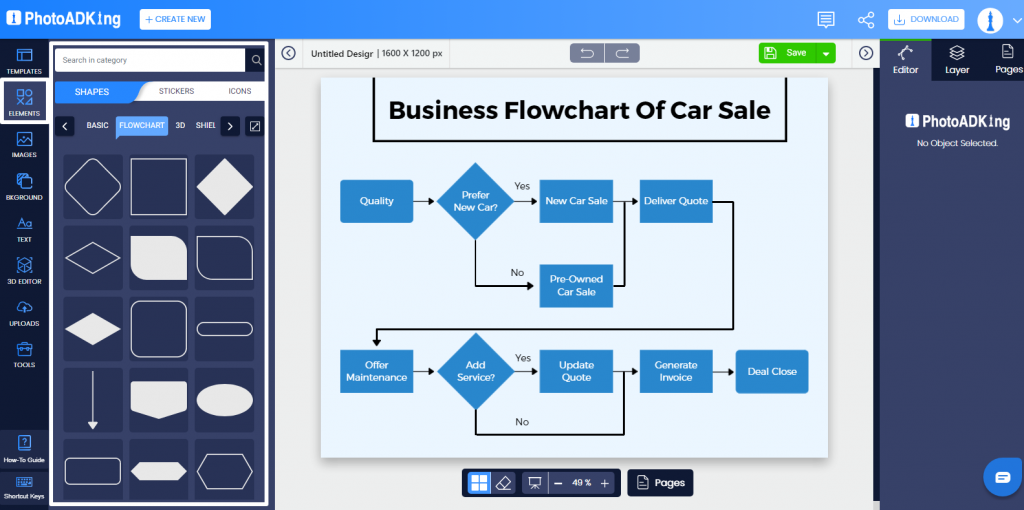
Don’t settle by putting up shapes. Confirm with your rough design that you’ve used them all.
● Add Text
After adding shapes to your flowchart, you’ll have to add desired text to these elements. Look out for Add Text in the left-side panel & you can pick from hundreds of professional font styles. Choose your heading text, subheading text & body text with the same drag-and-drop process.
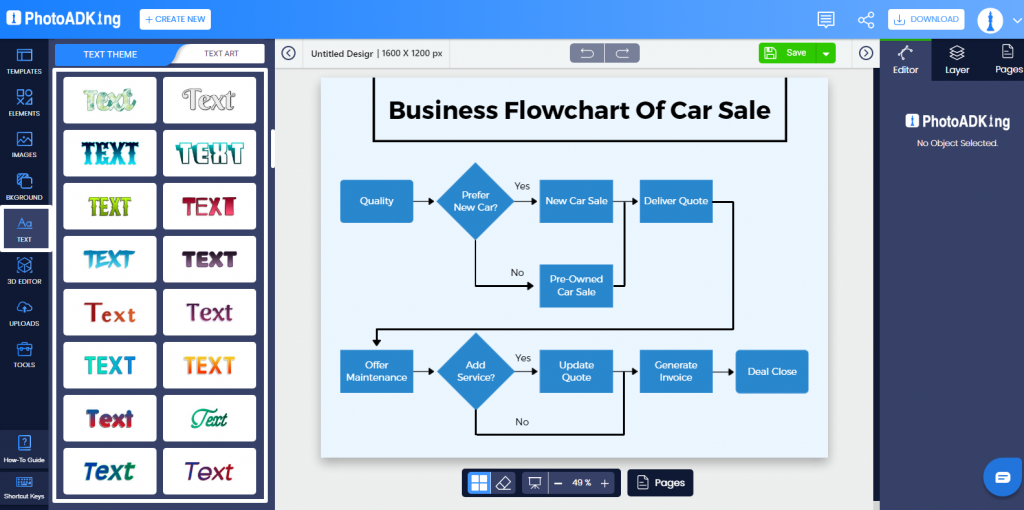
Edit this text & replace the dummy one with your text.
● Add Lines
Here comes the most important part of your flowchart diagram. Even if you can drag & drop lines using Elements > Lines, you have to be careful with the flow you’re directing with these lines. Especially, when you’re using arrows/pointers, they should be used precisely & parallel to the process being described. One mistake and the entire meaning get changed.
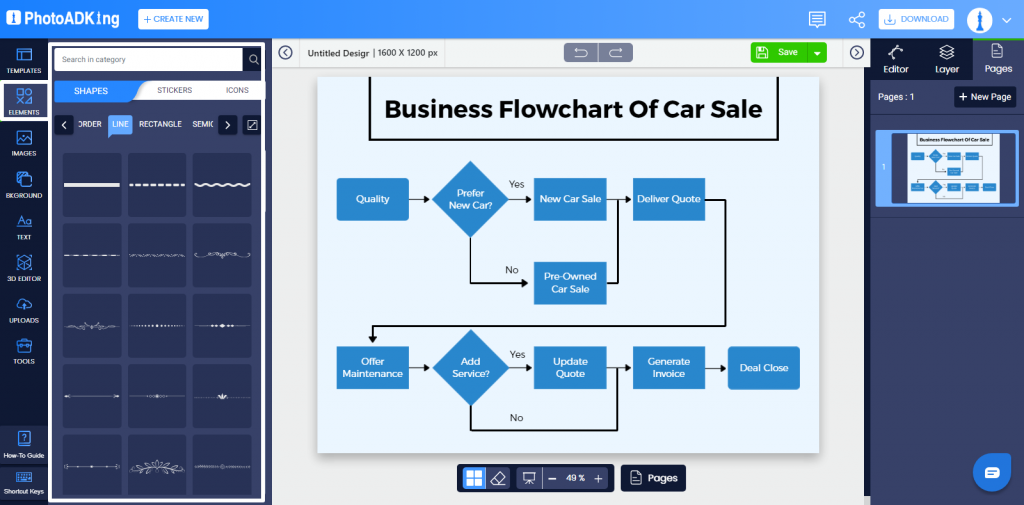
Pro Tip: Be extra attentive during pointer placements and verify your arrows/lines shape by shape.
● Formatting the overall look & feel
Now, as your 99% task of making is accomplished, formatting comes last. If you want the shapes to be of a specific color or want to add a backdrop to your flowchart, you can do so with the Background option from the left-side panel. For custom backdrops, you may upload yours using the Add Image option.
Align your flowchart with the color scheme & backdrop of your choice this way.
4. Save & Share
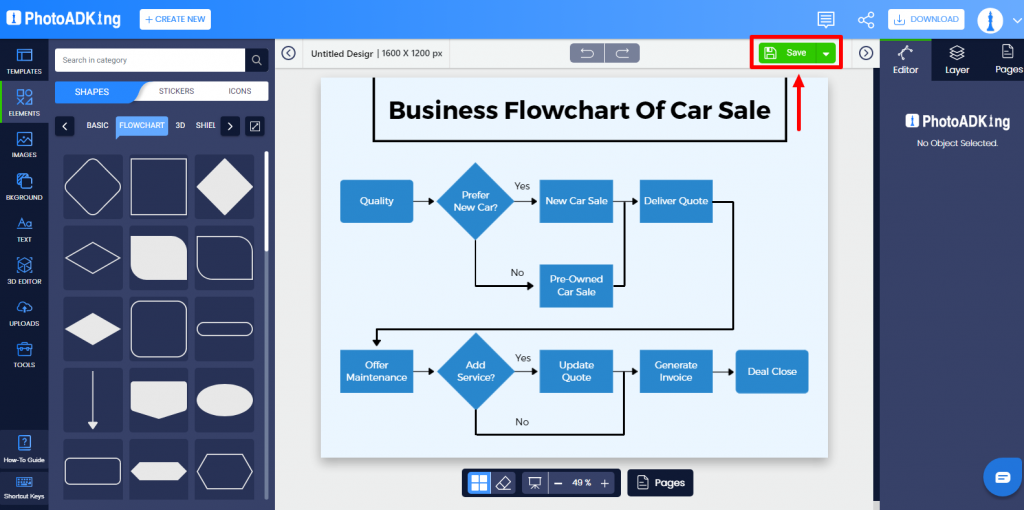
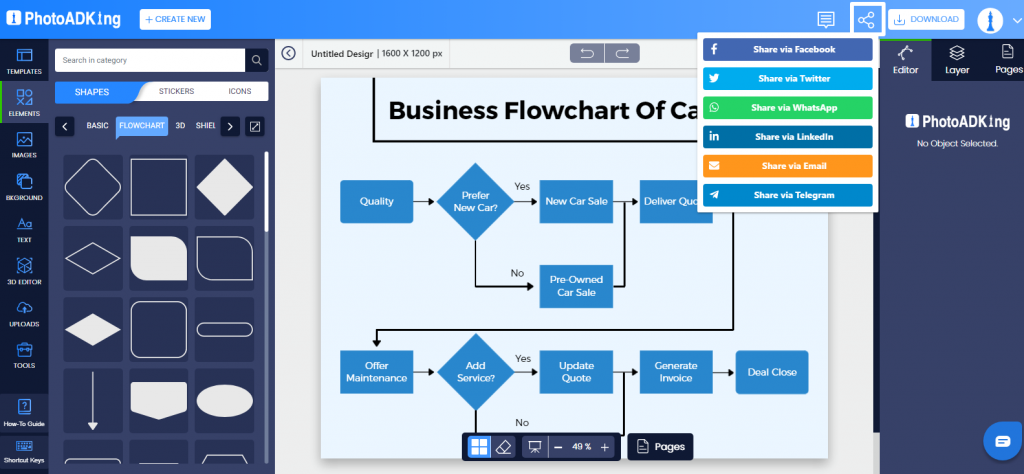
Finally, your flowchart is ready to download and use. PhotoADKing provides high-quality file downloads so that you can get a print of your flowcharts or share it with your team without losing that professional feel. If you want to give a second take to this visual, you may save it currently & edit it later too.
Don’t Miss These
Flowchart Ideas & Examples to Inspire You
Understanding Flowchart Symbols and Notation
Before you start creating your flowchart, it’s important to understand the different symbols and notation used in flowcharts. Here are some of the most common symbols you will encounter:
- Start/End SymbolThis symbol represents the start or end of a process. It’s usually depicted as a circle or oval.
- Process Symbol: This symbol represents a process or task. It’s usually depicted as a rectangle with rounded corners.
- Decision Symbol: This symbol represents a decision point where the flowchart branches off into two or more paths. It’s usually depicted as a diamond.
- Connector Symbol: This symbol is used to connect different parts of a flowchart that are not directly connected. It’s usually depicted as a circle.
- Input/Output Symbol: This symbol represents an input or output operation. It’s usually depicted as a parallelogram.
Once you understand these symbols, you can start creating your flowchart.
Steps to Make a Flowchart
Here are the steps to create a flowchart:
- Define the process or idea you want to represent: Before you start creating your flowchart, it’s important to have a clear understanding of the process or idea you want to represent. Write down the steps or elements involved in the process, and consider incorporating visual aids such as Gantt chart software to enhance project management aspects.
- Determine the start and end points: Once you have a clear understanding of the process, determine the start and end points. The start point is usually the beginning of the process, while the endpoint is the desired outcome.
- Identify the tasks and decisions involved: Identify the tasks and decisions involved in the process. Use the process symbol for tasks and the decision symbol for decisions.
- Connect the symbols: Connect the symbols with arrows to show the flow of the process. Use the connector symbol to connect different parts of the flowchart that are not directly connected.
- Add input/output symbols: If your process involves input or output operations, add the input/output symbols.
- Review and refine: Once you have created your flowchart, review and refine it to ensure that it accurately represents the process or idea.
Tips for Designing Effective Flowcharts
Here are some tips for designing effective flowcharts:
- Keep it simple: Flowcharts should be simple and easy to understand. Avoid cluttering your flowchart with unnecessary symbols or information.
- Use consistent symbols: Use consistent symbols throughout your flowchart to avoid confusion.
- Use color and shading: Use color and shading to highlight important parts of the flowchart and make it more visually appealing.
- Test it out: Test your flowchart on someone who is not familiar with the process or idea to ensure that it’s easy to understand.
Conclusion
Flowcharts are an essential tool for anyone who wants to simplify and communicate complex ideas or processes. By understanding the different symbols and notation used in flowcharts and following the steps outlined in this article, you can create your own clear and effective flowcharts. Remember to keep it simple, use consistent symbols, and test it out on someone who is not familiar with the process or idea. With these tips in mind, you can create flowcharts that are easy to understand and visually appealing. So, what are you waiting for? Start creating your flowcharts today!


