In the digital age, restaurants need to have an online presence. A visually appealing menu is an important aspect of any restaurant’s online presence, which is where PhotoADKing comes in. PhotoADKing is an online graphic design platform that offers a menu maker which allows you to create a menu in just a few clicks. In this article, we’ll go over how to make a restaurant menu from scratch in detail. So, let’s dive in!
How to Make a Restaurant Menu From Scratch?
Step 1: Open PhotoADKing in Browser
To get started, open a web browser and go to the PhotoADKing website.
Step 2: Create a PhotoADKing Account
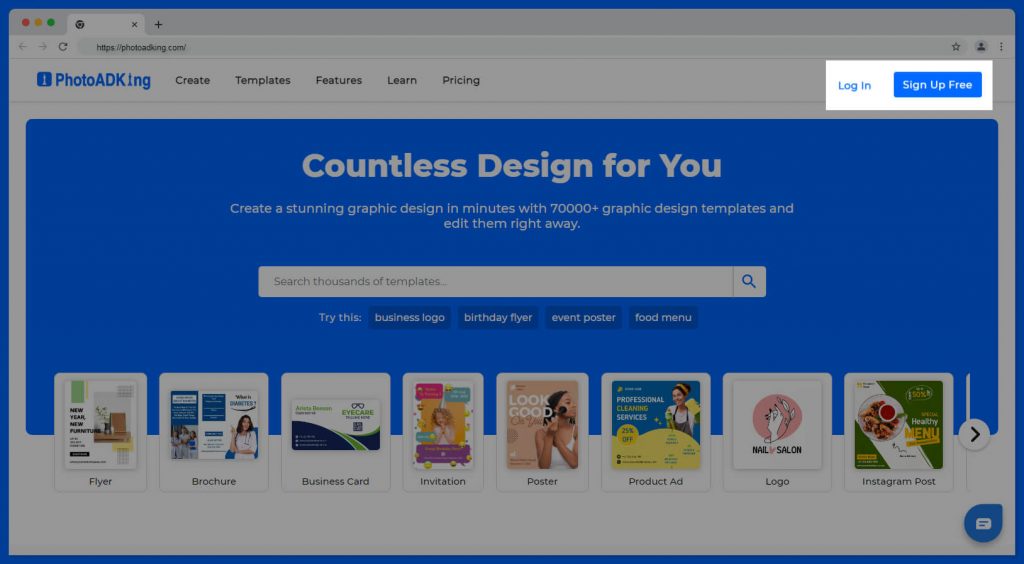
Before creating your restaurant menu, you’ll need to log in or sign up for a PhotoADKing account. Simply log in if you already have an account. If you are yet to create an account, you can sign up for free by clicking on the “Sign up” button on the top right corner of the website and following the instructions.
Step 3: Go to PhotoADKing Dashboard
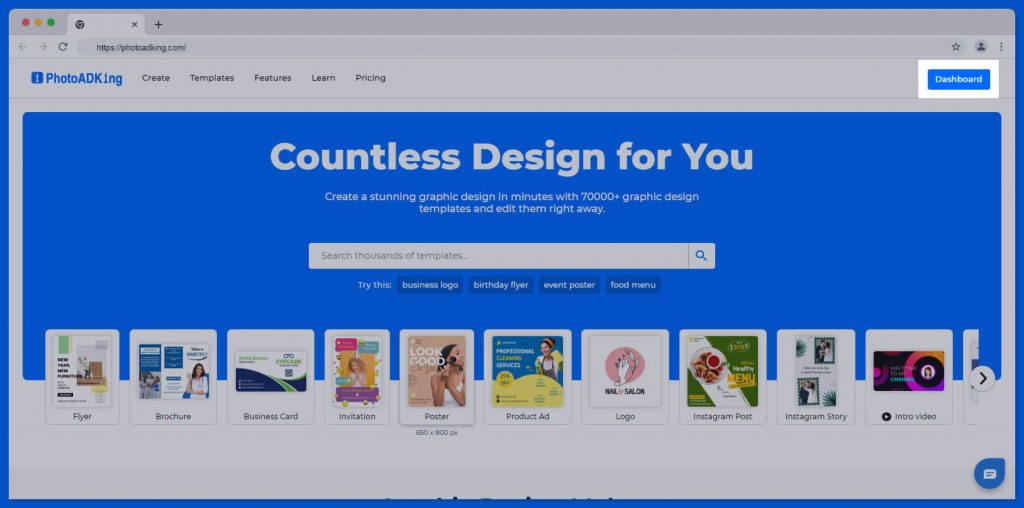
Once you are on the PhotoADKing website, click on the “Dashboard” button in the top right corner of the screen.
Step 4: Click Create New Button
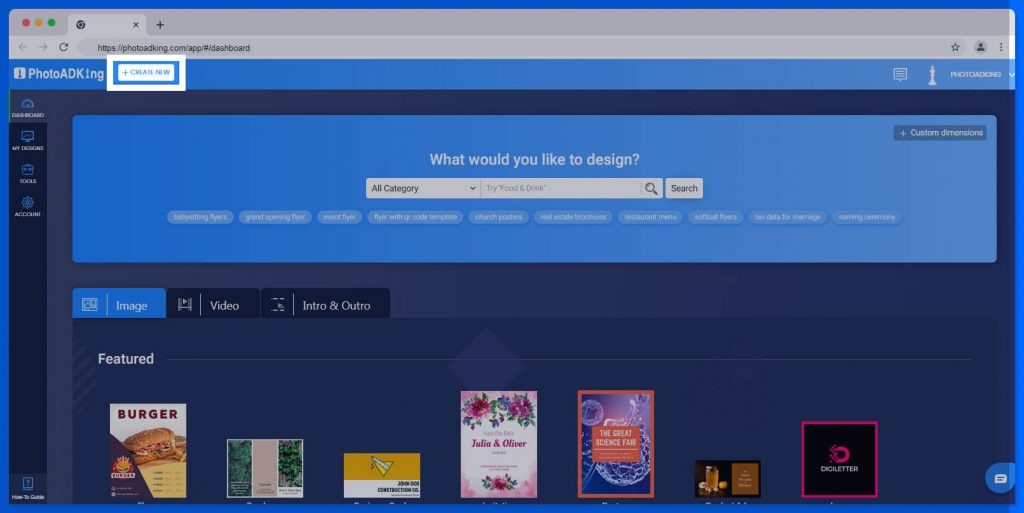
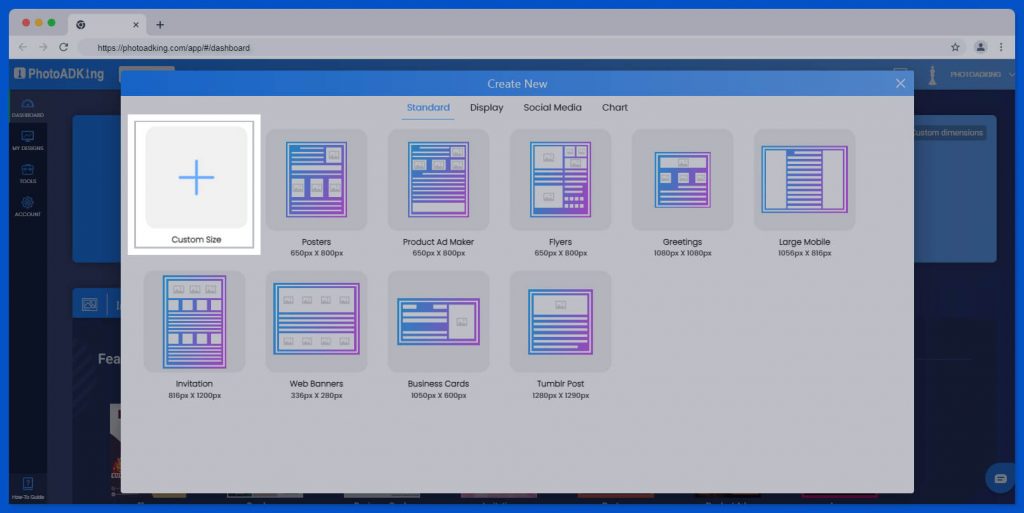
After clicking the dashboard, click on the “Create New” button and select the “Customize Size” option based on the size of your template. If you are unsure of the size, you should refer menu card size and dimensions guide.
Step 5: Add Your Background Color
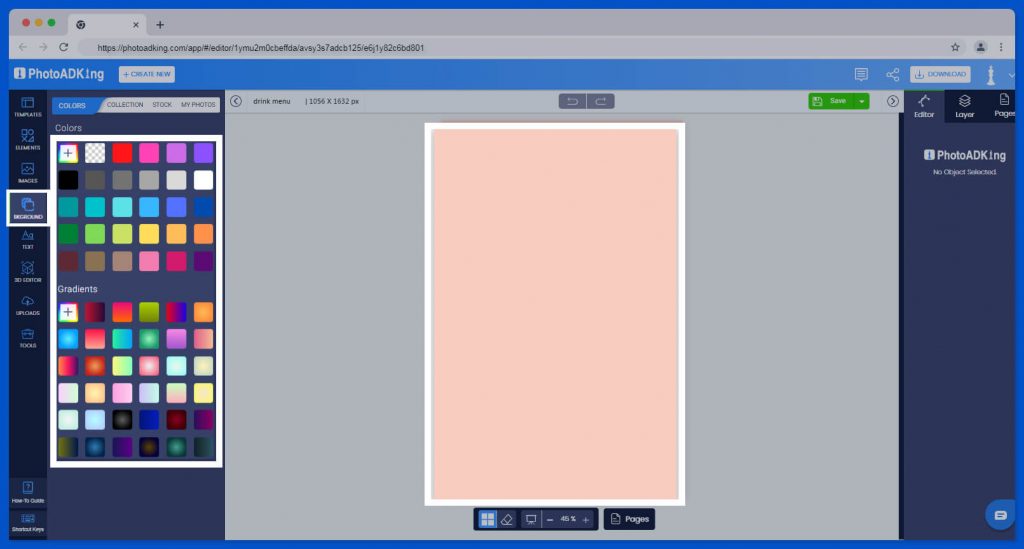
After selecting your template size choose your desired background color for the menu by selecting from the options available in the “Background” sections. Remember to coordinate with the branding of your establishment or use restaurant menu color scheme tips that go well with your audience and offerings.
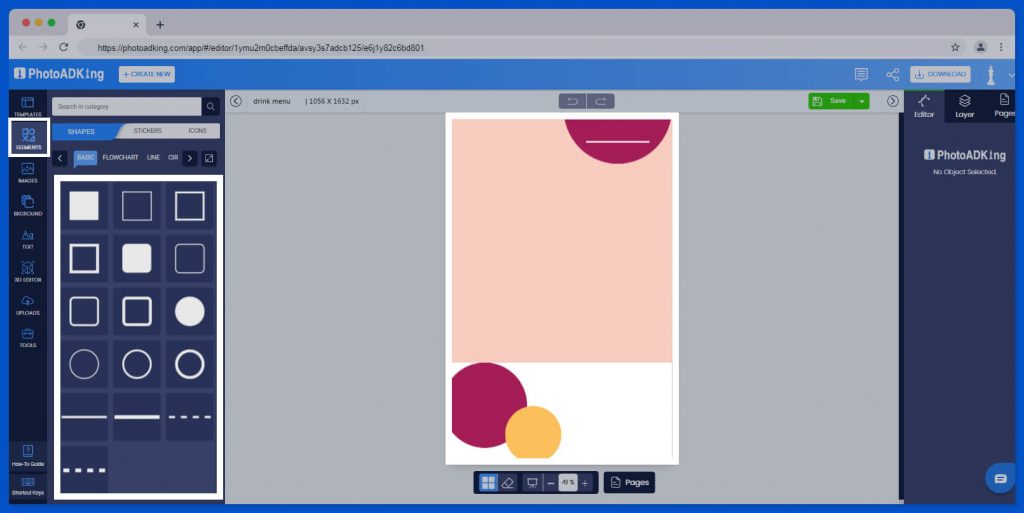
Step 6: Add Elements and Layout
Customize the menu by adding elements and layouts such as shapes, lines, icons, and images to the template. For more inspiration, you should look at the layout of a restaurant menu. Apply your brand colors to the elements to create a cohesive look.
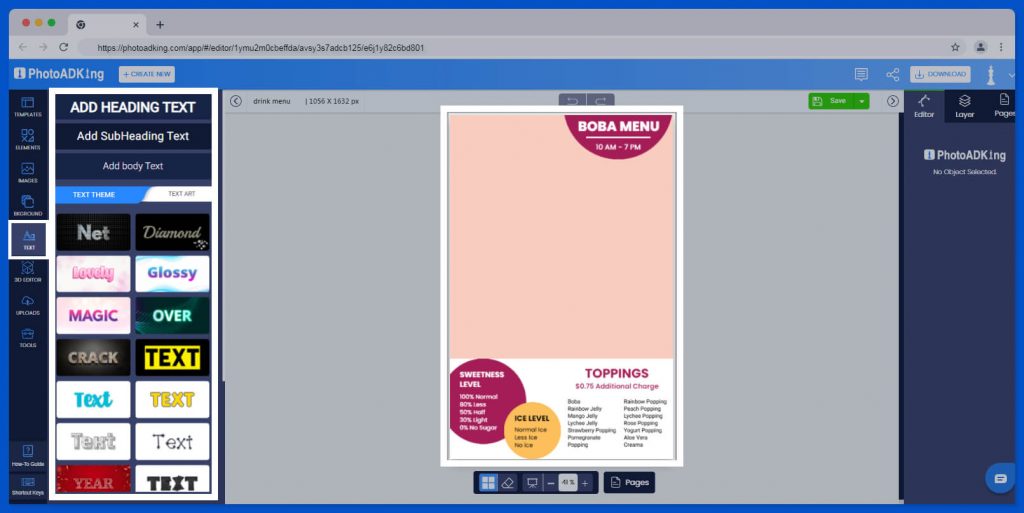
Step 7: Add the Heading
Add a heading for the menu, such as the name of your restaurant, and include the opening and closing hours or any other relevant information.
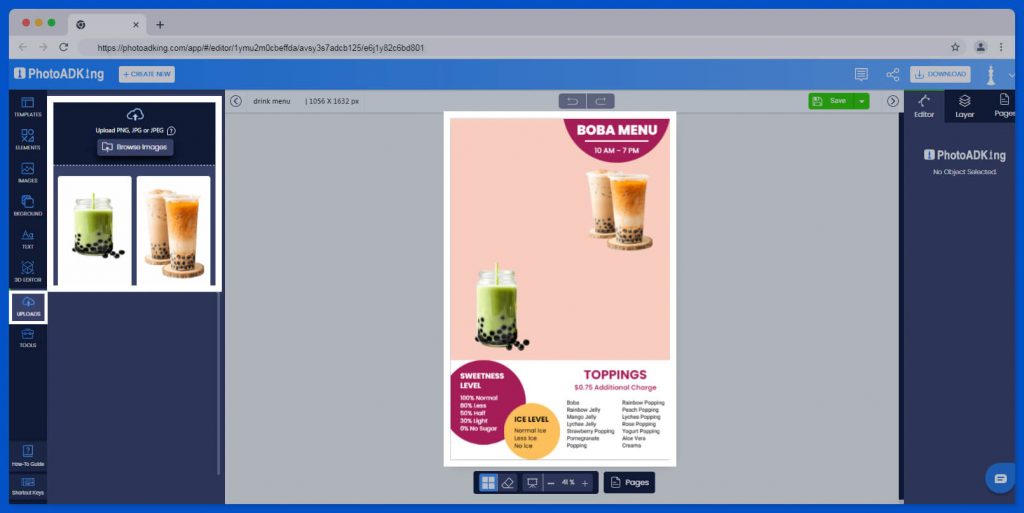
Step 8: Upload Your Dish Images
Upload images of your dishes to the template by clicking the “Uploads” button and selecting the images from your device. You can also search for images in the PhotoADKing library.
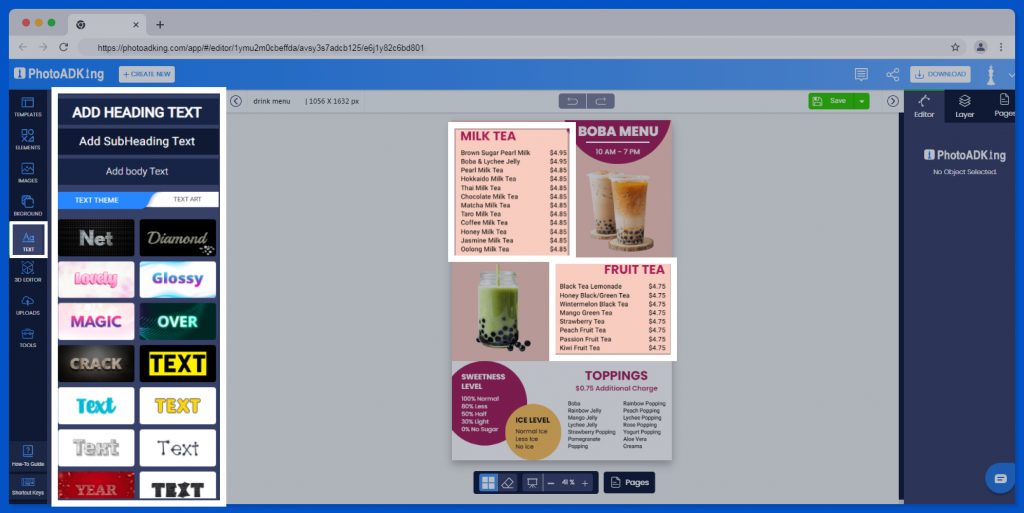
Step 9: Arrange Menu Items in Categories Wise
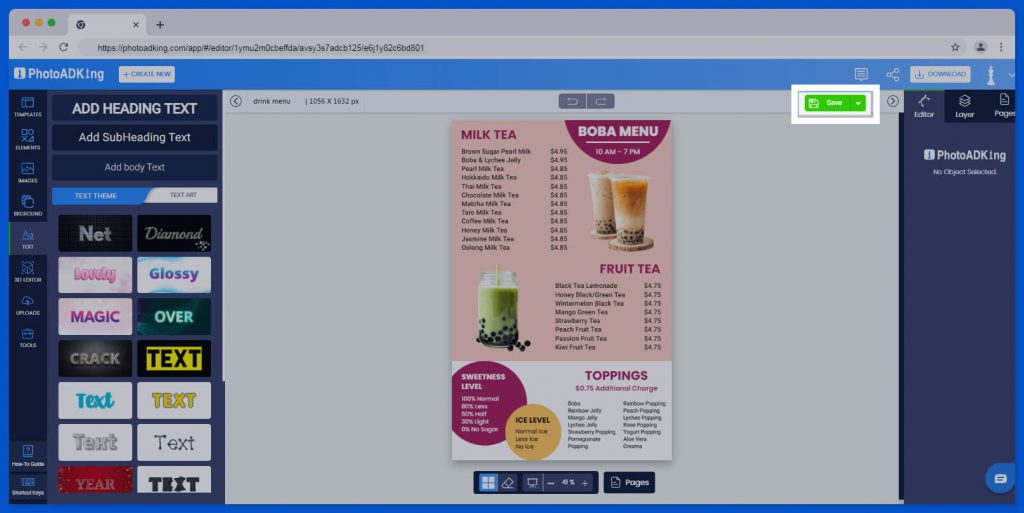
Organize the menu items into categories, such as fruit tea, and milk tea. And you can also add a brief description and the price for each item.
Step 10: Save and Download
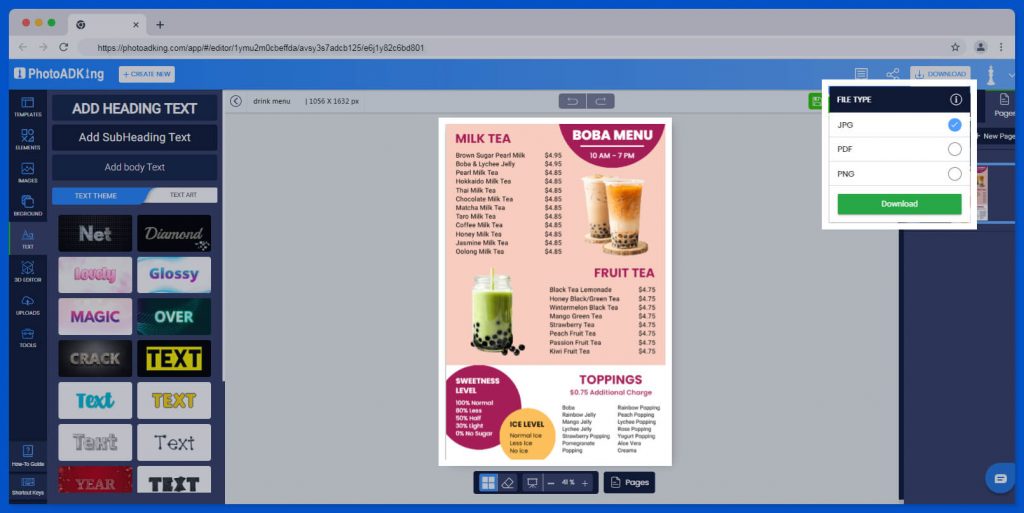
Once you have finished designing the menu, save it by clicking on the “Save” button and then download it in your desired format, such as PNG, PDF, and JPG.
Conclusion
Creating a restaurant menu from scratch can be a daunting task, but with PhotoADKing, it’s easy and fun. By following the steps outlined in this article, you can create a stunning menu that showcases your restaurant’s unique dishes and style. So what are you waiting for? Log in to PhotoADKing and start designing your menu today! Also, you can take the help of menu design ideas once you understand how to make a menu online from scratch.
With PhotoADKing’s user-friendly interface and a vast collection of customizable restaurant menu templates, you can easily create a menu that not only looks great but also effectively communicates your restaurant’s brand and offerings to your customers. Whether you’re a seasoned restaurateur or just starting, PhotoADKing makes menu design a breeze, allowing you to focus on what matters: crafting delicious dishes and providing top-notch service to your patrons. So don’t hesitate, to give PhotoADKing a try and elevate your restaurant’s menu to the next level!


